Millionaire
Cupcake Surprises
One of my favourite baked goods is millionaire shortbread. I
also love cupcakes. So I thought…why not combine the two? This recipe makes six
big vanilla cupcakes filled, filled with caramel, topped with chocolate fudge
icing and a bar of gold to boot!
In this recipe, I have suggested either vodka or ouzo for
the gold paint on the fondant gold bars, because I didn’t have any vodka in the
house when making these (honest!), so my Nan suggested I crack open my Grandad’s
bottle of ouzo that was casually sitting on the kitchen side. I don’t normally
say alcohol is necessary in life to have a good time, however in this case you
can’t replace the vodka with anything else, such as water. In fact, when I
googled possible replacements for alcohol, I found out that god lustre powder
is not water soluble, therefore if you were to mix this gorgeous golden powdery
stuff with water, the two wouldn’t mix together very well and you’d end up with
a clumpy mess. If you use alcohol however, it creates a smooth liquid which
adheres to such surfaces as fondant, very well. Essentially, this is one of the
very rare times I will say: don’t scrimp on the alcohol this time guys ;)….anyway
here’s the recipe (the caramel is inspired by my favourite millionaire
shortbread caramel recipe by
Simon Rimmer and complimented by the chocolate
fudge icing recipe by
womanandhome.com). Enjoy
J.
Ingredients
For the sponge:
100g/4oz margarine
100g/4oz caster sugar
100g/4oz self-raising flour
2 eggs (beaten)
1 teaspoon vanilla extract
For the caramel:
100g/3 ½ oz butter
200g/ 7oz condensed milk
2 tablespoons golden syrup
For the chocolate fudge icing:
100g/4oz dark chocolate
50g/2oz butter
175g/ 7oz icing sugar
Extras/ bars of gold:
150g/6oz white fondant icing
Gold lustre powder (available in cake shops)
A drop of vodka/ouzo
*chocolate covered popping candy.
Method
1) Firstly make the
gold bars. Sprinkle a work surface lightly with icing sugar and roll out the fondant icing to 1.5cm thick. Cut rectangles of
approximately 5x2cm. With a knife or ruler, slightly dent all four sides of the
rectangle, the innermost edge pointing towards the top (ie, so that the
rectangle is moulded into a trapezoid shape). When you’re happy with the shape
engrave the word ‘GOLD’ into the top of the bar with a cocktail stick- I like
to trace the letters out with small dots first then gradually scrape the
engraving into the surface. Set aside to dry.
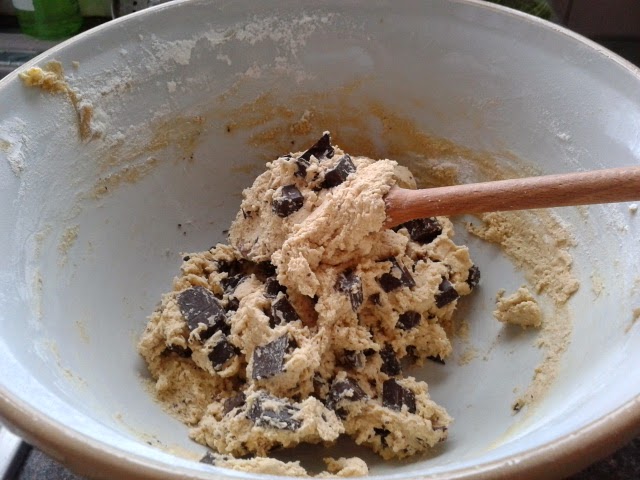
2) Make the sponges:
Preheat the oven to 180°C/ Gas 4 and line a muffin tin with 6 cases. Cream the
margarine, caster sugar and vanilla extract together until pale and fluffy.
Sieve in the flour, add the eggs and mix the batter until everything is
combined. Spoon the mixture evenly into the muffin cases, levelling the tops.
Bake for approximately 20 minutes- until the cupcakes are springy to the touch or
an inserted skewer/knife comes out clean. Set aside on a cooling rack.
3) While the cakes are cooling, paint the gold bars: in an egg cup or something similar, mix half a
teaspoon of gold lustre dust with half a teaspoon of vodka or ouzo, until you
have a smooth liquid. With a paintbrush, evenly apply the gold lustre to the
fondant bars- I find that it helps to paint in lines, one next to the other.
Allow the bars to dry. If you want to paint the bottoms as well as the top and
sides, I’d suggest you paint the top and sides first, allow them to dry and
then paint the bottoms after Step 4, while you’re waiting for your caramel to
cool.
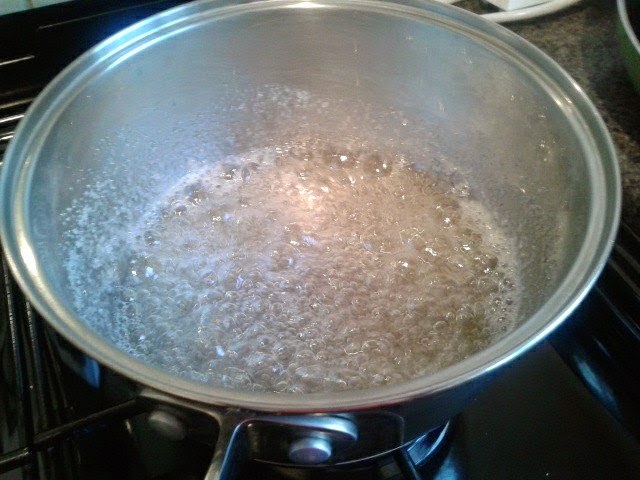
4) Next, make the
caramel. In a saucepan melt the butter, golden syrup and condensed milk
together. Once the ingredients are melted together increase the heat and boil
for 5-10 minutes, stirring continuously with a wooden spoon until the caramel
has turned a golden colour and reached soft ball stage.
(normally you can tell
that soft ball stage has been reached by having a jug of cold water handy: take
the caramel off the heat and drop a tiny bit of the caramel into the water- use
the wooden spoon obviously because sugar can be hooooot! Put your hand in the
water and try to mould the caramel into a ball. If you can you’ve reached soft
ball stage and if it’s too soft for that, return the caramel to the heat and
try this test again in a minute or so)
Once soft ball stage has been reached, leave the caramel to
cool for a few minutes. While it cools, use a skewer to poke holes into the
centre of the cupcakes and paint the bottoms of your golden bars (if you so
desire).
5) Once the caramel is cooled enough to handle, spoon it
into a piping bag or syringe, fitted with a small round nozzle, and pipe the
caramel into the holes you made in the cupcakes. If you don’t have a piping bag
or syringe, just make some holes in the cupcakes with a teaspoon and then spoon
the caramel in. At this stage sprinkle some popping candy onto the caramel
poking out from the cakes- this will make the popping candy stick for sure!
Leave to set while you make the icing.
6) Make the chocolate
fudge icing. In a heatproof bowl set over a pan of simmering water, melt
the chocolate. Take off the heat and gradually mix in the butter, stirring
after each addition. Once the butter and chocolate are completely melted
together gradually sieve in the icing sugar, beating well after each addition.
You may find the chocolate seizes up with the addition of such a dry
ingredient- in this case just add a drop of milk to loosen the icing up. To
make it easier for myself I just add a drop of milk with each addition of icing
sugar any way. Once the icing sugar is added, you should have a thick,
spreadable consistency. If it is too runny: add more icing sugar. If it is too
thick: add more milk. Simple as.
7) Assemble your
cupcakes! Spoon the icing into a piping bag or syringe, fitted with a
medium star nozzle. Starting from the outside, pipe a swirl of icing onto each
cupcake. Alternately you can spread the icing on with a knife. Make sure you
save a little icing to adhere the gold bars to the cakes. Sprinkle more popping
candy onto the icing. Attach a golden bar to each of the cupcakes by piping a
small amount of icing onto the undersides of them and placing them as you
desire on the icing swirl (the extra icing just adds…scaffolding to hold the
golden bars up on the icing swirls).
8) Enjoy :D (in this warm weather I suggest storing the
cupcakes in the fridge, however they taste best at room temperature).